Saturday, September 29, 2012

Any Witch Way Hat ~ A Pinterest Project Tutorial


I know it looks like I'm way behind on the Halloween decorating front.
Well, I put fall stuff out in September but save the holiday specific items for later.

But, I have been working on a few...one of which you see here today. :)

I saw this pin on Pinterest from Craftaholics Anonymous
and since I looove polka dots, decided to give it a shot.

Start with a paper mache witch hat from Michael's.


Cover entirely with white paint.
Or orange if you decide to go that route.
Be adventurous.


I had already cut some vinyl circles a while back
in preparation for painting my Kitchen Aid mixer.
Ummm...that hasn't happened yet either.

You could also use a 1 inch circle punch.

So I put them to good use here.
I painted over the edges again with the white paint
to keep the edges of my circles crisp once the black went on.


Paint over everything with the black paint...even the dots.
Yes, I'm using an Oriental Trading catalog to paint on.
I'm resourceful like that.


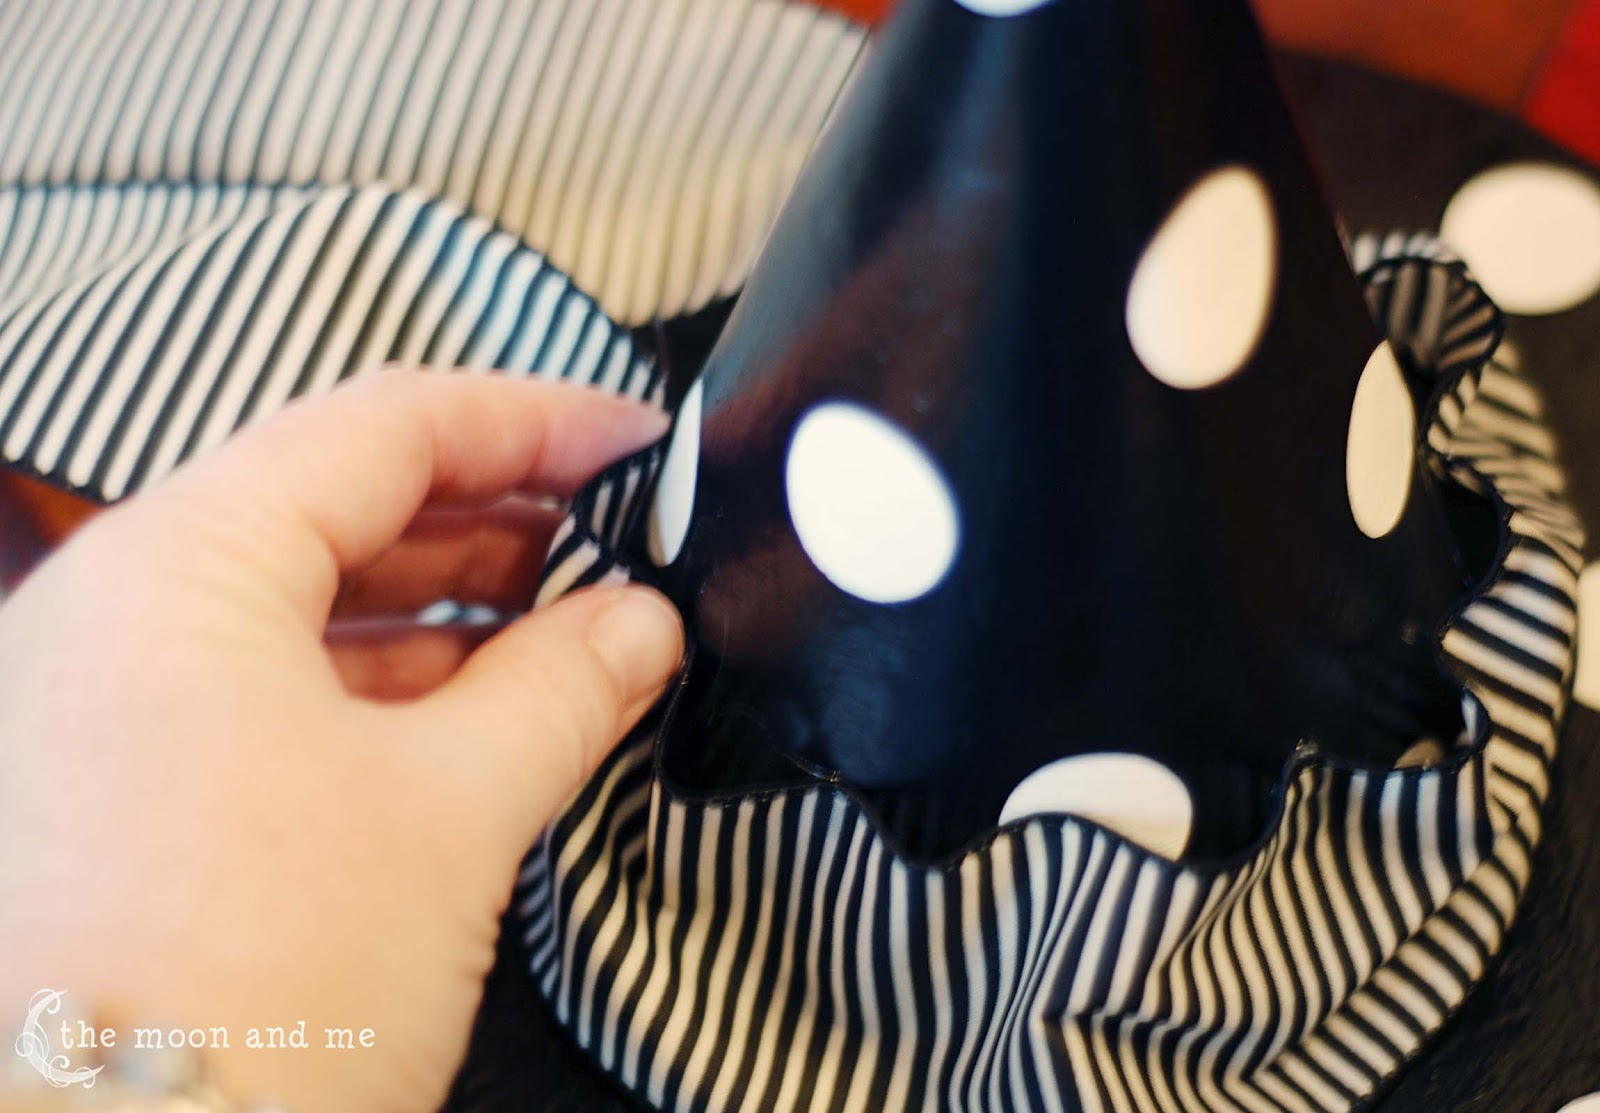
While the paint is still damp, remove the dots...but this may be tricky.

You can purchase expensive picks just like this one
made specifically by Cricut, I believe, but why spend the extra $?

I got a set of six "dental picks," which look remarkably
similar, from Harbor Freight, for about $3.
They work marvelously.


I sprayed it with a satin top coat just so it would be shiny,
but some Mod Podge would also work.

Attach your ribbon of choice, 
and some tulle {because it's awesome} with hot glue.

I wanted this to be ruffly...it didn't want to comply.
In the end we came to somewhat of a mutual understanding.


No, you're right, there's no hat in this picture.
I just liked it.
:)
Oh, look!  There's my lamp shade.


I like to believe that a chic little witch would wear this hat.


Maybe even Miss Switch the Witch.

That would be ONEderful!


TOO cute!

{I'll share the initial plaque once I get the rest of the living room art finished!}


If I only had a THREE-legged chair...

We'd have ONE, TWO, THREE.

But I guess you'd have to read the book or watch the
OOOOOLD after school special to know about that.


I hadn't looked at the original pin since I had first pinned it.
I was kinda surprised when I went back to link it how alike they were.
Except mine is all black and white and has more stripes.

Oh well, you can't always be the trend setter.


I do have non-copied projects I've done.
However, most of those are pre-blogging...
and way before I found so many fabulous things online I HAD to have.


I think I may feature some of those, 
but be warned...there won't be tutorials...

Do you ever feel like your life is so busy you
couldn't come up with an original project if you tried?

Be sure to stop back in a couple days to see some more Halloween fun!

Wednesday, September 26, 2012

Veggie Grill Packs


We grill all year 'round.
Sometimes we have to shovel the snow off the deck to do it,
but we persevere.
If I had a picture...I would show you.
It's kind of funny.


Sometimes I just hate having to cook stuff inside
while also tending to the meat on the grill.

The solution?
Veggie grill packs. :)

You can use whatever you like.
These included potatoes, bell peppers,
onions, and mushrooms.

You want your potatoes to cook in the same
amount of time as the rest of your veggies.
So make sure you cut them relatively small...
maybe 1 1/2 inches cubed, if that.

You can place some pats of butter on top
or drizzle with olive oil.

A little salt and seasonings...maybe some
Parmesan and you're good to go.


Once you fold over your foil,
roll up the edges really well to seal it all in.

I didn't take a picture of the rolled up packet.
I am so ashamed.

Anyway...
place on a hot grill for 12-15 minutes per side...
or until your potatoes are tender.

Love me tender, love me sweet,
even if I forget to take pictures of important steps,
Never let me go.


These will be hot and steamy,
kinda like a young Elvis...
so be careful when you open them up.

Feel free to change the veggies...
add zucchini, green beans, whatever floats your boat.

It will all be good.

So, what would you put in your pack?

©Kelly
 
Firing up the barbie here:
 

Thursday, September 20, 2012

A Princess Party ~ and CAKE!

My two princesses.
Sara and Ruby.


When Ruby turned 3, her mom had a princess party.
What princess party is complete without Cinderella?


Rather than hire some stranger who was going to charge mileage
to come up from Denver...my princess, Sara, played the role of Cinderelly. :)


My mom and I made the dress.  It's basically the pattern
from Simplicity with a couple small changes.
We altered the neckline slightly per Sara's request.
And we took some extra fabric from around the waist
and pleated rather than gathered it because there was
just sooooo much fabric it was kinda bunchy.
I don't have a great full length picture...but here it is:


The headband was made with extra fabric hot
glued to a plastic headband.
The choker was black velvet ribbon with
snaps sewn on the ends.
I ordered the gloves and glass slippers online.


Some of the party goers chose to have their pictures
taken with Cinderella...some did not.
I only showed you the girls whose moms I know. :)


Cinderella twirled her dress and showed the girls her glass
slippers...which some of them wanted to try on!
She also handed out sparkly tiaras to the
princesses who came to the party without.
:)


She was loved by all...of course.

Then it was time for sweets!
There were frilly pink cupcakes...
I got the FREE princess cupcake toppers here.
I just printed and punched them out with the 2" punch
then taped them to new sucker sticks.
Then I made the little fondant crowns.


Not my best work...but everyone seemed to love it anyway.
Sara asked me why I didn't braid Rapunzel's hair...
{you know you were wondering what that was!}
I said I just didn't think about it...grrrrr.

So, Rapunzel, Sleeping Beauty, and Cinderella.


We also coated some pretzel sticks with pink candy coating
then added sugar pearls before the chocolate cooled.


So, there you have it...a party fit for royalty.


Here is some more inspiration for princess party cakes.
These are older and I don't have party pictures to go along with them.
I either wasn't at the party or something.
:)

The Pink Ballet Princess.
This one was even pink inside.


The frilly Baby Princess.


And some simple chic cupcakes.


Have you pampered your inner princess lately?
You should totally read this book:
It's hilariously funny!
You'll want to get your own tiara...along with some fuzzy kitten heels.

Have a great weekend!


©Kelly

Saturday, September 15, 2012

Peanut Butter Banana Oat Bars


Looking for a healthier snack for after school...after work....
after falling asleep at the computer and drooling all over your keyboard?

No, that did NOT happen to me.
I swear.


These are totally yummy and I consider them "wholesome."
After all, we're talking natural ingredients mixed together with love.

Joy to the world, all the boys and girls.

Say "hi" ~ I'm in the spoon!


A little protein, a little fruit...throw in some whole grain oats...


...and you've got yourself a moist and delicious snack bar.

Yes...I got a new square baker...yay, me!!!


They kind of remind me of more of a muffin texture,
so they're not hard by any means.

Soft and a little crumbly...great with milk.


Ready?
Get your mixing bowls...


Ingredients:
  • 1 1/2 cups quick oats (or regular rolled oats)
  • 1/4 cup packed brown sugar
  • 1 tsp baking powder
  • 1/2 tsp salt
  • 1 tsp cinnamon
  • 1 tsp pure vanilla extract
  • 1/2 cup milk
  • 1 large egg, lightly beaten
  • 1 large mashed banana
  • 1/4 cup creamy peanut butter
What to do:
  • Mix the oats, brown sugar, baking powder, salt and cinnamon in a mixing bowl.
  • Add in the vanilla, milk and egg.  Then the mashed banana and peanut butter.
  • Mix all together.
  • Pour mixture into a lightly greased 8 x 8 inch baking pan.
  • Bake at 350° for 20 minutes until golden.
  • Cool and cut into squares...then eat!


adapted from Gingerbread Bagels

Happy Baking!!!


Sharing here:

Thursday, September 13, 2012

DIY French Script Lampshade Copycat


By now you know I have a penchant for long post titles.
And this isn't among the longest.
Furthermore, that has NOTHING to do with this post at all.

Anyway...
You may ~ or may not ~ remember this
lamp from our little sojourn to Paris.
It is most decidedly in need of some help.
The lamp came from a thrift store and the shade is
some inexpensive one from somewhere.
It's been sitting neglected and naked for quite some time now.


I waffled some about what I would do with it.
I considered burlap, other fabric.  Covered with rolled fabric roses.
Fabric that already had script on it.

Wait...back up.
Fabric with script?
Get outta town.
I said, "Self, did you see what Jeannine at the
Concrete Cottage did to her lamp shade?!?"

"Hey...why don't you do that?"
To which I replied, "OK."

{BTW, I told her I might be her very own blog-stalker. I love everything she does!}

SO...I scoured the interwebs for images
of Frenchy writing and other fun things.
The Graphics Fairy has tons,
well, not literally...
they don't weigh much...
Just search for French postcards or French writing...or something.


Once I printed them out I taped them to the inside of the shade.
It does help to have the light on.
You're welcome.


I used a fine tip paint pen to trace the parts of the print outs I wanted.
You can use a fine tip Sharpie, too.
Have it your way.


There was a little bleeding since this shade has a pseudo fabric whatever on it.
I learned to use that to my advantage and worked my way all around.

Now, when it was all finished...I liked it so much
I didn't want it to go back to the guest bedroom.
I wouldn't get to see it as much...or brag about it.
So I replaced the red shade on this lamp in the living room...and...


It's FABULOUS!


Okay, so I had to have a chandelier, too.
I'm such a copier.

But I added a fleur de lis.
So there.


and a crown.


I had some cold coffee in the fridge.
You know, just hangin' out.
In case I needed an iced mocha valium vodka latte.

Just kidding.

Moving on.

I poured it on the fabric kinda stuff and
let it dry then did it again.


Mmmmm. Not quite parchment-y enough just yet.
I'm going to go with the old stand-by next, brewed tea.


But let's be honest here...
who knows how long it will take me to get around to that.


Until then, it will just look a little faded.
Like me.


What have you been working on?
Doing any copy catting?

À bientôt!


Sharing here: