Showing posts with label spray paint. Show all posts

Friday, June 19, 2015

Bye Bye Mini Blinds and a Chandelier Makeover


Hello...hello...is this thing on?
Remember me?
I'm that girl that used to blog here.

I was recently looking back at another post where
I was joking about being AWOL for 3 weeks.
That seems like nothing now.

I haven't stopped DIYing or decorating...
I just haven't had time to share any of it with you.
Insert sad face here.

But...TA-DA! I totally changed the look of my dining room with a few simple updates.
I hate those cheap white mini blinds...as necessary as they may be sometimes.

When we had our dining windows replaced after a storm damaged them,
I knew I wasn't putting the blinds back up.
Here's how it looks now:


And here's how it used to look.
I searched and searched and couldn't find any decent before pictures.
I was so sure I had some...


But you get the idea...even if it's a little Christmasy.


I found the bamboo shades on clearance at Bed, Bath & Beyond for a sweet price.
They were lighter than I really wanted but couldn't pass them up.
I fixed that problem with some Minwax spray stain.

I probably could have done a wipe on stain, but these shades
have a liner and I didn't want it to seep through.


I found a good spot in the garage to hang them and
stretch them all the way out and sprayed away.
It worked beautifully.

I love them because they are cordless and they add
some nice, warm natural color to the room


The next step was to make some straight neutral curtain panels.
Seriously, straight off the bolt...cut, hem sides and ends.
Add a little fusible web at the top for sturdiness. Done.

Once again I used some Onasburg fabric.
It resembles the popular drop cloths but is much easier
to work with and has a super low price.

Once I agonized over the curtain rod I wanted,
then I found the clip rings on clearance.
Bonus!


Now the fun part...
You can see from the inset that this light fixture used to have globes.
I was so over them, but didn't think it made sense to get a new light.

I removed the globes, added some pointy light bulbs...


...and needed something to cover the ceramic bases.
My quest yielded no suitable base covers so I had to improvise.
I'll give you 3 guesses and the first 2 don't count.


Okay, okay...I kinda loathe crafts made from TP rolls...
but in this instance I had no other choice...and they're not handled ever.
I cut them to the size I wanted then spray painted
them with some Rustoleum Oil Rubbed Bronze.
Did you guess correctly?


You can't even tell. :)
I love it! It's like a whole new chandelier!


I love the lightened up look and it will go so well with
the kitchen if I ever get those pesky cabinets painted. :)
I still love red, but prefer to accessorize with it rather than have it be the focus.


See? I haven't been a total slacker.
So what do you think?

I like my new job...it's just really different and when I go home
I don't have the umph to sit down at the computer and work on the blog.
Not to mention all the other craziness of life...and taking the girl to
New York  to settle in for a summer program on Broadway.
Really. (Miss Awesome Pants!)

But I miss you...really.

And I do have other projects that I'm working on and
hope to finish soon...and share eventually. :)

All my love till next time...


Sharing here:

Tuesday, January 13, 2015

Happy New Year! 2014's Top Ten!


Okay, well, I'm only slightly behind.
I mean, January's not quite half over yet, right?

It has been super crazy nuts around here the last few weeks.
So, without further ado,
allow me to present to you the top 10 from 2014!!!

I know, I know...
you're thinking...didn't I only post ten times last year?
No...I actually did a few more than that!
:)


As always, I feel these numbers would be totally
different if posted at different times of the year.


9. Taking you into the clouds in my Valentine's "heart-air" balloon.


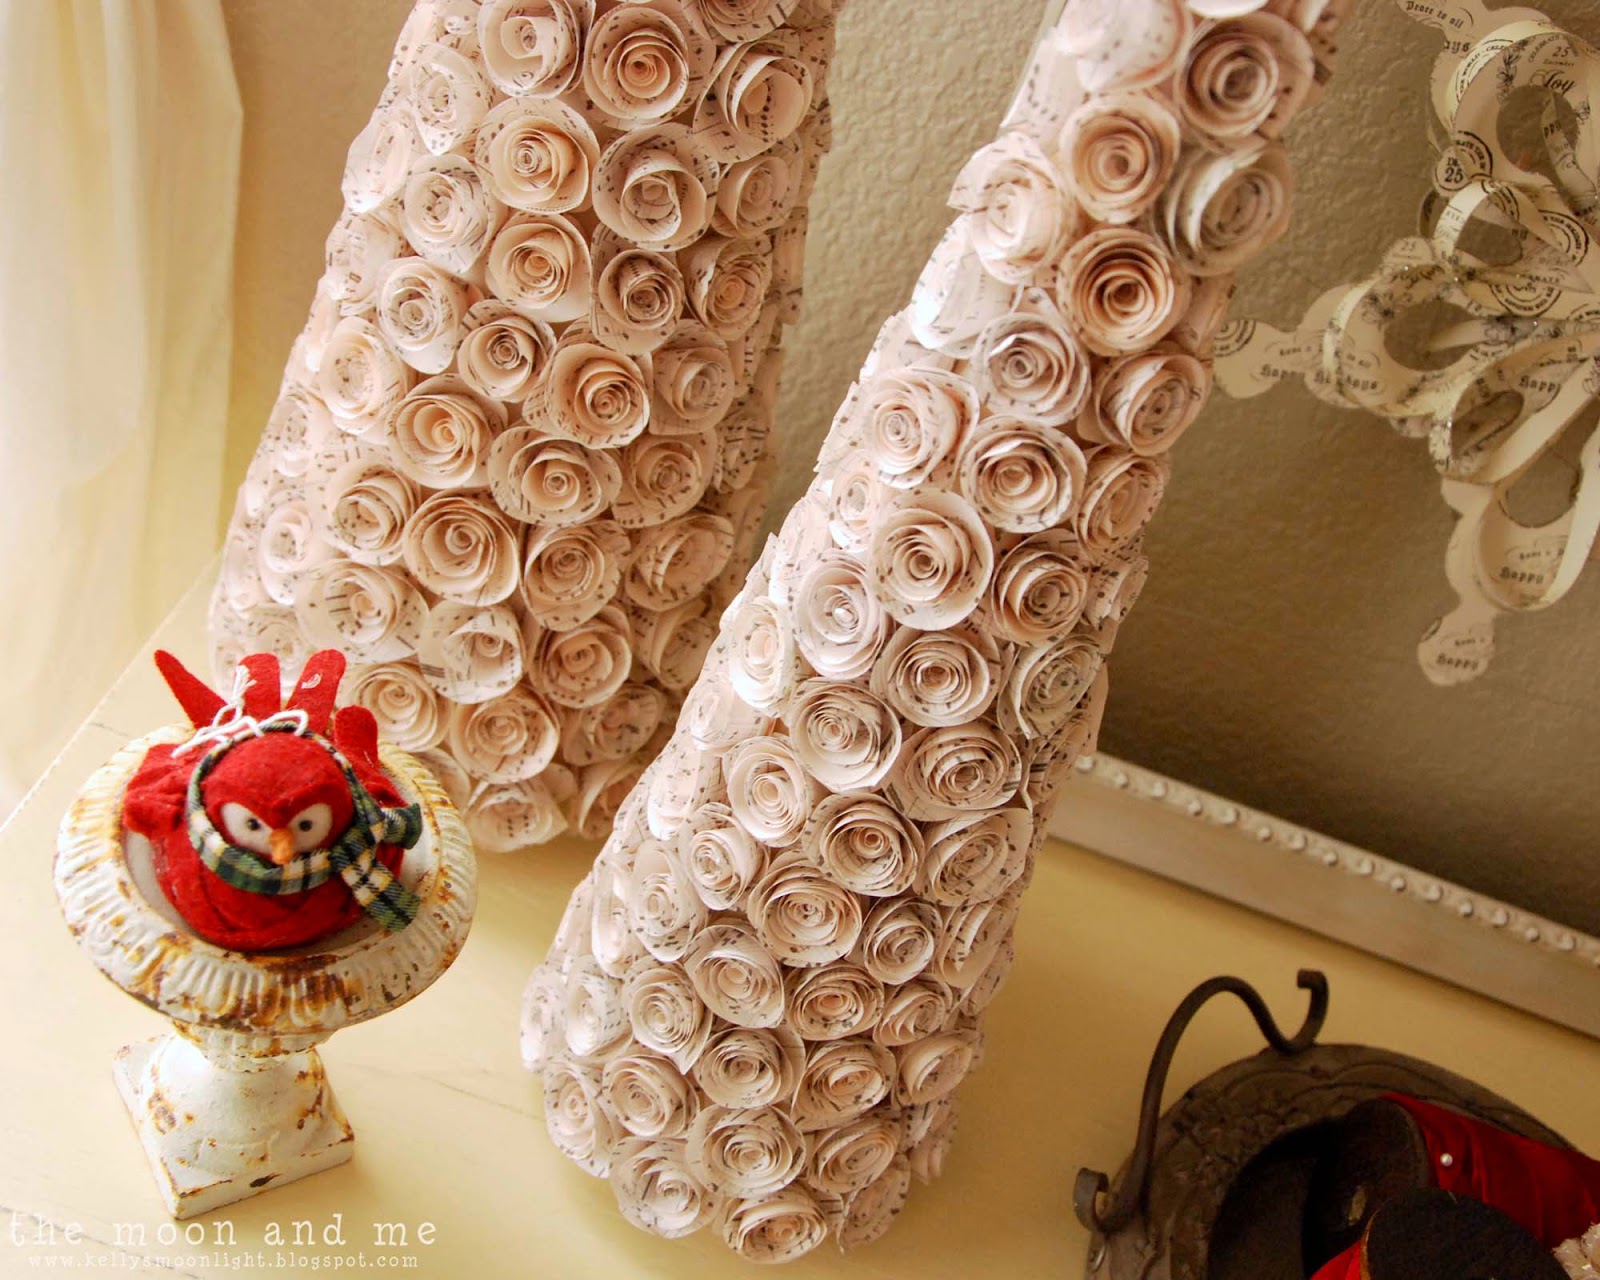
8. Absolutely wonderful and totally time consuming Paper Rose Trees.


7.  The "I still love going in there just to look" Planked wall bathroom.


6. The "keep calm and eat breakfast" Cheesy Egg and Sausage Bake.


5. "I can't believe I ate all the frosting" GF Chocolate Cupcakes with Peanut Butter Frosting.


4. The secret makeover of Sara's purple palace.


3. The Chalk Painted Dresser of my dreams.


2. The great TV Console maker
and the single most popular post from last year...


The super easy customizable DIY personalized cutting board.

And there you have it!
I had lots of fun in 2014 doing all these projects...
I hope you enjoyed them, too!

2015 looks to be challenging for my blogging time.
I just changed jobs and have much less free time now...
although I am totally stoked for this new adventure in the new year.

I know I promised a sweet treat before Christmas...
I am hoping to get it out to you in time for Valentine's day.

Until then, keep smiling!


Sharing here:

Craft Dictator
AKA Design
Crafts a la Mode
I Heart Naptime
The 36th Avenue
Reasons to Skip the Housework
I Should Be Mopping The Floor
The Chicken Chick

Tuesday, September 9, 2014

18 Easy Updates That WOW! {A Curated Board for Hometalk}

Have you ever heard of Hometalk?
Well....it's pretty awesome!
It's all things home and garden...remodels, makeovers, inspiration.
It includes posts from pros, bloggers, and non-bloggers.
It's an awesome resource for DIYers and gawkers alike.

I was recently asked to curate a board all about
It started with that shiny, red KitchenAid mixer...and snowballed.


These updates are all pretty simple...and most of them only involve paint.

We all know the transforming magic of paint.

Here are a few of my favorites:

would be a happy greeting every day.


I love how this striped, painted porch
from Creatively Living looks so fresh and bright.


Can you believe the difference in this


This one isn't paint...but it's so pretty...
makes me wish I had some bookcases to makeover.


Whew...it was hard to pick my favorites...
I was trying for just 3, but you know how it goes.

To see the details on these and all 18 easy updates,
check out my Small Changes ~ BIG Difference board on Hometalk. 

It's okay, you can go right now.


Sharing here:

Wednesday, August 20, 2014

Planked Wall Bathroom ~ Behind the Scenes


When I told you about our new planked wall bathroom a couple weeks ago,
I promised I would come back and give you some of the details.
Yeah, well...it just took me a little longer than expected.
Shocking, I know. :)

As a refresher, here is the before and after:
{warning: this is kinda long}


Of course you know that with any good makeover project,
you've got to tear some stuff up first!


Removing this ceramic tile from the backsplash was NO fun.
As you can see, I got a little brutish and took out a big chunk of drywall.

Ooops.

I filled it in with some plaster filler and smoothed
it before we put the planks up, don't worry.


This was some super duper adhesive on these puppies...that was the problem.

We have these mini pry bars...but the combination of the extra strong glue
and apparently soft drywall caused me to find inventive ways to get the tiles off.
I used a small board to aid with leverage and protect the wall behind.
There may have been chisels and a hammer involved, too.

This totally made me rethink the possibility of taking out the tiles
that serve as the backsplash in the kitchen.


I think I mentioned that once I started painting I wasn't
totally sure I still was in love with my paint choice.
I mean, it has been two years since I bought this paint.
By the way, this is Chocolate Turtle from Valspar, color matched in Behr.


Once we got the planks on the walls, the world began to right itself.
I could see my vision becoming reality and all was well.


These are cedar v-groove planks from Lowe's.
They come in a pack of 6 I think...and are eight feet long.
The Lowe's website doesn't show a picture of the pack,
so there's no visual for that...sorry.

Also...I neglected to take any process pictures.
I am sometimes a sorry excuse for a DIY blogger. :)


But not to fear, they are really simple to put up.
They are tongue and groove and the pack gives the basic guidelines for installation.
We used long finishing nails and went right into the studs.
Don't use adhesive unless you know for sure you'll never take them down!

Jon helped a lot with the planking...because it was just easier with two sets of hands.
Especially when you're trying to use the level and hammer at the same time.

Our biggest challenge was that the boards are not all exactly the same height.
Because of that, there was some finagling at the corners
to get them to line up as closely as possible.
You can see the corner above is not perfect.
We ripped a narrow board to place there knowing it
would not be visible once we trimmed it out.


I remembered to leave this space here so I could frame out 
the mirror without some weird notch taking place.
Which I also did not document.
But really...measure trim...cut trim...attach to mirror...paint.
Voila!

Oh...and whenever you put something on your wall...
or even a thick outlet or light switch...you'll need to remember to
get some spacers to bring your outlets out farther.


We used some 1 X 2 trim for the top "shelf" of the wall...
and some small square trim right below that...for visual appeal and support.
You can kind of see it below here on the left.
The baseboards are just chunky casing.

We trimmed out the corners with some lathe...because
it's thin and I didn't want it to stick out too far.
And, yes, I know that part around the light isn't painted yet.


Once everything was up, I filled nail holes, filled gaps, filled knot holes...
with nail hole filler and paintable caulk...and sanded till my arm nearly fell off!

Well, almost.
I had a little electric sander that gave out about 2/3 of the way through.
The rest was all manual labor.
My arm did NOT fall off...guess the time at the gym is good for something!

I did use a coat of primer on the cedar.
I didn't want it to soak up all the paint and
I didn't want it to smell like a hamster cage forever. :)


When I did the mini makeover in our master bath, there was
some discussion after the fact about other options for the counter top.
One of the things talked about was Envirotex Pour On Resin.
Sooooo...I decided to use it here on a small surface.


I love the way it filled itself in against the wall and the sink...seamless.
However, trying to get all the air bubbles out was a pain in the rear.
And I had a heck of a time keeping the edges smooth.

It pours on, so the top levels beautifully when you spread it a little...
but then you have to be vigilant on the sides and edges.
I was in there the whole time it was setting up to
smooth out the sides...and they're still bumpy.


I don't know what I could have done differently, but am open to suggestions as to how to fix it.
It's also very shiny...high gloss.  Which I knew it would be.
Even when it's cured, it looks like it's wet.

There are instructions on the box to achieve a satin finish...
How did that work out you ask?  Not so well...but I'm still brainstorming.
So...I would not use this again for this application, but it would be awesome
on a bar top...which is kind of what it's made for.


Below is how it looks now...but still not the final product...
as I'm still looking for the best solution.
I will update you when I find it!


Here is a close up of the top trim and corners.
This odd angled wall made measurements fun to figure out!


You can see how the mirror framed tucked into the planking and trim.


The counter and cabinet got a coat of primer before paint.
This BIN primer is the best for glossy surfaces like cabinets.
It seems thin when you apply it, but it's really great.

It doesn't even look like the same unit.
The planking and cabinet are Sherwin-Williams Creamy.


The light fixture got a dose of Oil Rubbed Bronze spray paint.
And see? I remembered to paint the wall behind it.


This canvas is a custom piece of art I made myself!
I created it using basically this method from Lake Girl Paints.
I just used craft paints and maybe a random sample pot.
I can't describe to you how awesome it looks.
I love it so.


It is an excerpt from a poem called Starlings in Winter by Mary Oliver...
who I discovered, when looking this up, was born in Maple Heights, OH...
which is a neighboring city to my hometown of Twinsburg.
Crazy, huh?


The wreath was in here before, but it looks so much better in its new surroundings.
The basket with towels is from TJMaxx.
The faucet is one of two I picked up for a song on the discontinued rack.


I don't have a cost breakdown because I forgot to keep track.
I know the planking ran about $100 for all we needed.
That did not include the trim and baseboards.
Might it have been cheaper to rip thin boards
ourselves and space them with a nickel?
Probably.
But then it might have taken me another year to get it done. :)

None of the links in this post are sponsored or affiliated.
I just wanted to let you know what we like and what we used.

If you have any questions or I left anything out of this very long post...
drop me a note and I'll do my best to answer.

I'm trying to find my notes from this delicious Bourbon Cedar Salmon I made...
if and when I do...you'll be seeing it here!
Until then...keep smiling!


Sharing here: