I don't do a lot of "decorating" for Easter...
so I didn't figure I had anything fun to share...
Then myself reminded me that I had made a little Easter cake
a couple of years ago with one of these cuties on it:
Myself has a bad habit of remembering things at the very last minute...
so that is why you are getting this little tutorial
ONE WEEK before EASTER!
So sorry. :)
Most cakers use gum paste for figures...
if you want them rock hard faster, do that.
I just use fondant because I'm impatient and don't like messing with gum paste.
Satin Ice is my favorite...especially if you plan
to use it on cake and actually EAT it.
(this White Buttercream flavor is new and pretty good)
Get yourself a nice sized glob of fondant...
and cover the rest up...it dries out quickly.
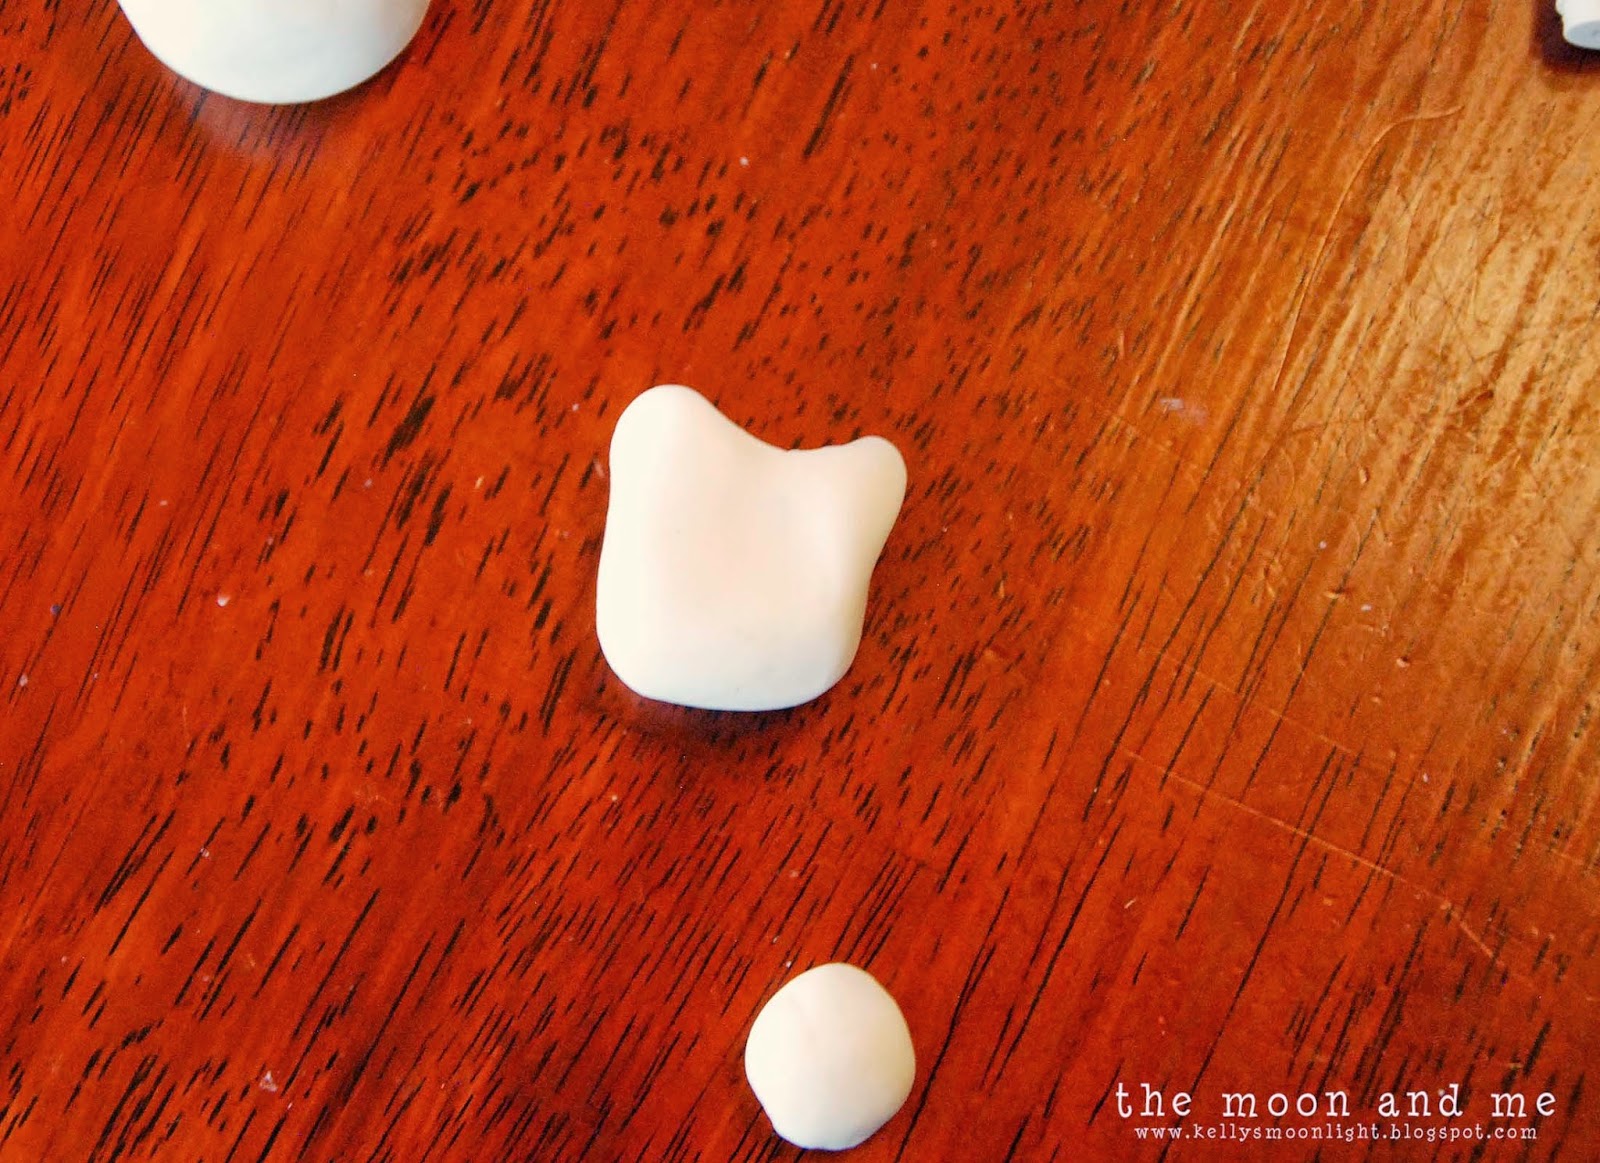
Divide your fondant into 3 sections about this big.
I actually had a little too much and ended up with a chubby bunny.
Side note: did you ever play that game in youth group where
you had to stuff your mouth with as many marshmallows as
you possibly could and then say "chubby bunnies" several times?
***insert crickets chirping***
NO?
Welllllllll........me neither then, I was just checking.
Anyway...
Take your middle sized ball and start to pinch one side to shape the ears...
Just keep working it and smoothing it until you get the length you want.
Next start to shape the rest of the head...mine has fat cheeks...
and from the side you can see I tried to make the
bottom of his face elongated like a bunny's.
Shape your largest ball into a sort of bunny body.
Adjust size if necessary.
from your smallest ball take a couple equal pieces and shape the feet
Make the side that goes under the body flat and dab with a little
water on the end of your finger to stick them to the bottom of the body.
Use a tooth pick or the edge of a knife to make some bunny "toes."
Take two more small equal pieces and roll into arms.
Flatten the top edges and attach to top of body portion using a dab of water again.
These should be placed so that they're under the head once it's on.
Now to finish the face.
You should have a little piece left...
from that make two small flat, round pieces...cheeks
one very small long round piece...nose
and a small rectangular piece with a dent in the middle for the teeth.
Petal dust (top) is great for coloring fondant, but not always readily found.
You can get it at cake and candy supply stores and some kitchen stores.
However, pearl dust (the long tubes), is made by
Wilton and can be found at Hobby Lobby.
Attach the face pieces in this order...
Teeth
Cheeks
Nose
Using a clean paint brush, I applied the petal dust and made my nose dark,
and used a little less to make my cheeks rosy.
You can do the same with the pearl dust, it may just be lighter.
(I used the white pearl dust over the WHOLE bunny once he was done)
Using the other end of the paint brush, make two small dents for eyes...
Can you see them there?
If not, no big deal...
Use an edible food marker to fill in the eyes...
these have a nice wide pointed tip, so you could even
JUST use the marker to make the dents.
Now...comes the waiting.
As you can see, my bunny is sitting on a piece of parchment...
That is so he doesn't stick to the table.
You could also use wax paper or the shiny side of freezer paper.
Shape your bunny ears how you will want them to be when they harden.
One up, one down...both floppy, whatever.
But he needs to set up and harden AT LEAST
overnight for his ears to stay standing.
Once the fondant has hardened, place the head on the body,
you can use a little water dabbed again, to make the
body and bottom of the head sticky and attach.
(you can use a toothpick for more stability...make sure you place it
while the fondant is still soft, and make the hole in the body also.
Then allow to dry inserted into the head.)
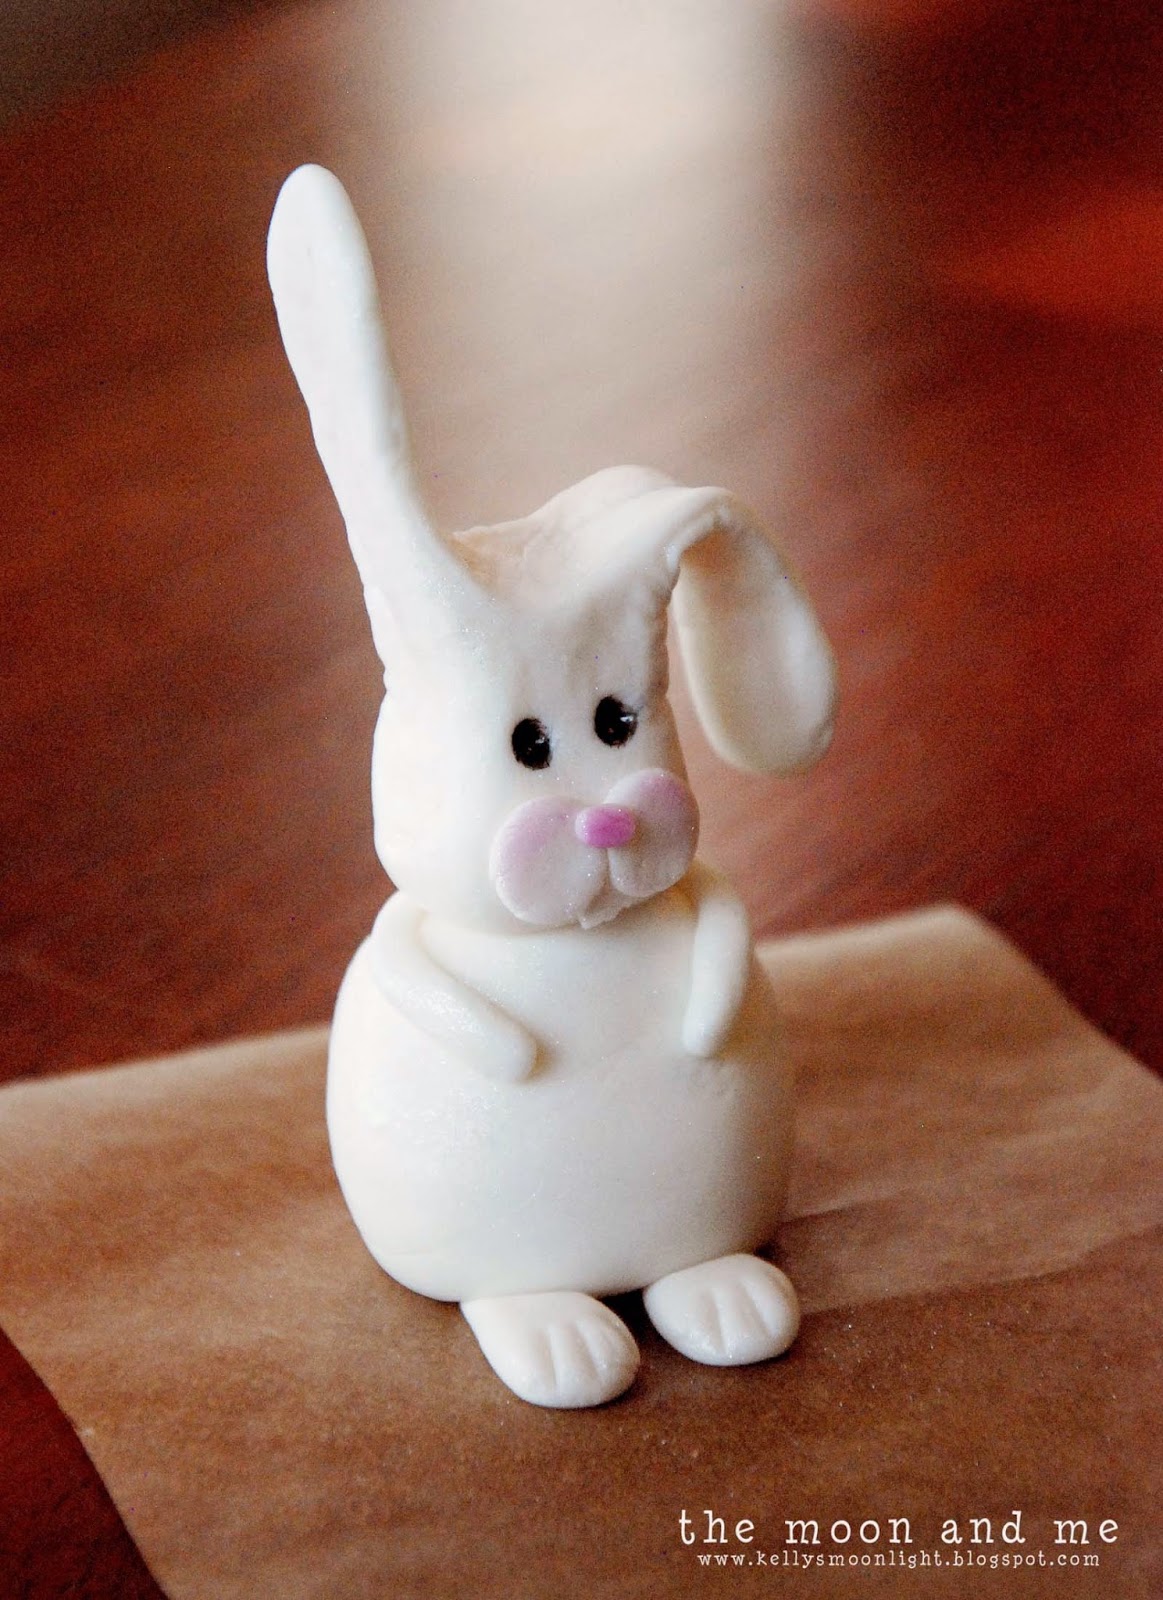
Look at that face!!!!
Now you have an adorable little bunny
to put on top of your Easter cake.
Well, I guess that is if you MADE an Easter cake.
Little Bunny Foo Foo
hopping through the forest...
...scooping up the field mice
and boppin' 'em on the head...
OOOPS...
Wrong bunny...
Don't you just wanna pinch his cheeks?
Here is my original bunny sitting on his little cake.
I went to find him (I still have him) in his box,
and his ears had broken off! (The old one, not the new)
It was very sad. :(
The "eggs" are colored fondant, so are the rolled flowers.
And the grass was easy...just use the grass tip with some green buttercream.
Ta DA!
Doesn't he just make you smile?
He does me!
I know this is last minute, but I hope I've inspired you to
make your own little bunny for your Easter dessert this year.
Let me know if you give it a try...
and if you have any questions.
Have an awesome weekend!
Hopping along to these parties:


