Wednesday, June 26, 2013

My Front Porch...and a Bloglovin' Reminder

Welcome to my front porch.
Like most places around the country, we had a late spring.
So a lot of my flowers aren't really big yet,
but they're looking gorgeous and I wanted to share.


I love my purple roses.
My big pink ones are just now starting to bloom.


Isn't this arrangement breathtaking?
I HAD to splurge and get it from the nursery.


I've had this rose forever...we actually brought it with us from our old house.


What I really wanted to talk to you about,
is a reminder that on July 1, Google Reader will be retired.


I talked about this a couple of months ago


I know there are several options out there to
receive and read your favorite blogs.
I happen to love Bloglovin' so that's where I'm directing you guys.


I get one email per day with all the posts that were published
that day from all the blogs I subscribe to.
I actually get to read more of the blogs I love.


I didn't really like Google reader anyway...maybe I just
didn't spend enough time getting to know it.
But Bloglovin' works for me and is easy to use.


Easy is good in my opinion. :)


I hope you've enjoyed this tour of my front porch.
But I REALLY hope you'll consider following me on Bloglovin'.
But if you prefer to subscribe by email or
like me on Facebook, that's okay, too. :)

Have a fabulous rest of your week!


Tuesday, June 18, 2013

Caramel Mocha Mini Bundt Cakes


Or maybe a better title would be:
My Misadventures In Baking

Seriously.

I started out to make this cake from Inside BruCrew Life...
for Father's Day and ran in to trouble right from the start.

Well, I guess the trouble didn't start right away.
Like, I KNEW I didn't have plain yogurt.
No biggie.

  
I used sour cream.
I make all my cakes with sour cream so I
wasn't the least bit worried about this part.
{if you click that link you can see most of my cakes}

I used vanilla pudding instead of chocolate because that's
what I had and didn't want to make a special trip.
You know how it is.

All was well and good.
Or so I thought.

I went to the baker's rack to get my fluted stoneware pan...
it was cracked.
Big crack.  How the heck did that get there?
{insert BIG sad face here}

At least they still make them...
SO...I had to do the next best thing...
use the mini fluted stoneware pan that's
been gathering dust in the cupboard.


Moving on...
Everything seemed to be going smoothly,
until it was time to add the oil.

Where did it go? Is it hiding?
I could have sworn I saw a bottle in the cabinet the other day.
Either that or the pancake syrup was playing tricks on me.

We mainly cook with olive oil and I didn't want to use that.
So I substituted melted butter.

I couldn't get my white chocolate to
melt properly...it kept getting lumpy.

Oh.My.Goodness.

But, just so you know...
it turned out DELICIOUS!!!!!


So, here are the adaptions I made to the original recipe:

Ingredients:

  • 1 chocolate cake mix (I use Betty Crocker's Triple Chocolate Fudge ~ THEEEE Best!!!)
  • 1 instant chocolate {or vanilla} pudding mix (or whatever flavor you want)
  • 1 cup sour cream
  • 4 eggs
  • 1 stick butter, mostly melted
  • 1 cup brewed coffee, cooled
  • 1 cup mini chocolate chips (optional if you use the above cake mix)


I interrupt this regularly scheduled blog post for a sweet tooth service announcement:


See this naked can?
Did you know it's super easy to make caramel sauce?


Grab a can of sweetened condensed milk
{I'm a snob and only buy Eagle brand}
Remove the label...place can in pot of hot water, enough to cover it,
bring to a boil and simmer about 2 hours.
Add more water as needed to keep covered.


When the time is up, let it cool...you don't wan't to get burned.
This is what you'll see when you remove the lid.
A whole bunch of gooey caramel awesomeness.

Make several and keep them in the cupboard...
ready when you need it.
{P.S. it is unbelievable with apple slices!}

You're welcome.


Topping: 
  • 1/2 cup milk chocolate chips
  • 1/2 teaspoon shortening
  • 1/2 cup caramel {you can warm it in the microwave a little so it's drizzly}
  • coarse sea salt, optional


Instructions
  1. In a mixing bowl, combine the cake mix, pudding mix, sour cream, eggs, butter, and cooled coffee. Beat on low for 1 minute, scrape sides then beat 2 minutes on medium. Stir in the chocolate chips.
  2. Since I had a mini fluted stone, I used that (with some batter to spare in cupcake wrappers), but you could also pour into a greased 10" bundt pan.
  3. Bake the minis at 350° for 40-45 minutes or the full size for 50-55 minutes. Let cool 15 minutes in the pan. Place a plate over the top of the cake and flip the cake over. Let cool completely...or not.
  4. Melt the chocolate chips and shortening in the microwave. Heat for 30 seconds. Stir until creamy. Place in a plastic baggie and cut one tip off. Drizzle over the top of the cake. {awesome tip} 
  5. Warm the caramel in the microwave until thin enough to pour...about 30 seconds. Drizzle the caramel over the chocolate. Sprinkle the top with the sea salt if desired. Store in a sealed container.

 I still want to make Jocelyn's version because it looks soooo fudgy.

Tuesday, June 11, 2013

A Barnwood Flower Box


In my ongoing quest to lighten up the living room...
yes, this story is STILL ongoing...

I needed something to put on the coffee table.

Enter the salvaged barnwood flower box.


Last fall a very old house came to the end of its life.
Sad...
for the house and barn...
but not for me.

For some time they had a sign out front for free wood.
Hey, I'm all over that!
So, my mom and I headed out and scored some nice pieces.


Super easy to make, really.
Of course, you do need a saw.
And glue.
And cookies.

Oh, wait,
I guess you don't NEED cookies,
but they help.


I decided the length and width I wanted, 
then cut my boards and used my trusty Gorilla Wood Glue
and some clamps to hold them together.

Some of the wood was damaged so we just
trimmed the bottoms to make them even.


For the bottom, instead of using some of my "good" wood,
I used a piece of scrap we had in the garage.

I just cut and glued some felt I had lying around to
the bottom so it wouldn't scratch the table.


Right now it's sporting some creamy fake hydrangeas...fresh and summery.


I can't wait till fall...I'm thinking some leaves
and bittersweet..maybe little pumpkins.


I think it would be awesome with some mason jars and fresh flowers...
or maybe a shorter version.

I'm super happy with it and love the chippy paint.
Can't be sad about the free part. :)

I haven't ventured into the pallet wood arena...
probably cuz I'm too chicken to ask for some.
Have you?
Where's the best place to get free wood?

Well, it's stinkin' hot here this week...
so I hope you are stayin' cool wherever you are.


Dwellings
Thrifty Décor Chick
Love of Family and Home
Life With The Crust Off

Wednesday, June 5, 2013

Rockin' {some cute flag shorts} in the USA


Ladies and gentlemen {imagine there's an echo, mmmkay?}...
today we have a very special guest...all the way from Oklahoma City...
home for the summer...my favorite girl, Sara.


She's sharing this patriotic DIY shorts makeover...
please give her a very warm welcome.
~~~


Hello everybody!
This summer my list of crafty DIY things is just about as long as my mom’s.
Since July 4th is coming up soon this seemed like a good place to start.

So… here goes…

Find a favorite pair of shorts that you want to give an American face-lift.
I got mine at a thrift store. J

They can be high-waisted, regular in cut, denim,
white or whatever your heart desires.

The type of shorts don’t matter. 
I think choosing white in color is
easier for the design, but it’s up to you!


I had my mom make me some star stickers 1.5 inches
in diameter that I placed in a pattern on the fabric.

{These were cut on a Silhouette, but you can find star stickers just about anywhere}


Now that you have the shorts (white in this case) you need
a red and a blue color of paint that you like.
I made the mistake of using acrylic paint and hopefully once
I wash them now that the paint has dried they won’t be as stiff.

Paint made specifically for fabric is probably a better choice.
But hey, you use what you got, right?

Pour about 2 tablespoons of each color in separate containers
and add some water, but only enough to dilute the paint.
Perhaps the ratio should be 1.5:1 ; water:paint.

On the right leg I painted the blue with the stars so that the front would
have the same look as an actual flag. The backside however,
if you continue the stars the same on the left leg, you’ll be flipped

I then took a 1 inch foam brush to paint over them and the rest of the right leg.
Seem easy enough right?


Just make sure that you don’t use too much of the liquid around
the stickers or else you’ll have some bleeding where
you don’t want it and there’s extra work involved to fix the stars.


The left leg is easier and only requires frog tape or washi tape
{excuse me, you used my washi tape?}
to make straight lines horizontally across to keep the white stripes.

You decide how thick or thin the stripes turn out.

My warning is the same with this side though.
Don’t soak the fabric right next to the tape to avoid bleeding.
Brush the liquid off and away from the tape.


I would suggest letting one side dry, at least some,
before flipping to paint the other side.

Hang 'em up to dry completely!
~~~

Thanks, Sara!

Now everybody can R.O.C.K in the USA!


Make sure you follow the recommendations on the paint bottle for washing.


I want to see you all rockin' your flag shorts!
Whew...won't those fireworks be goin' off!


So let's have it...send me pics!
I'd love to see your patriotic refashions!

Did you enjoy this post from Sara?
I have a feeling she'll be back this summer.

Have a spectacular weekend!


Rockin' out here:

Wednesday, May 29, 2013

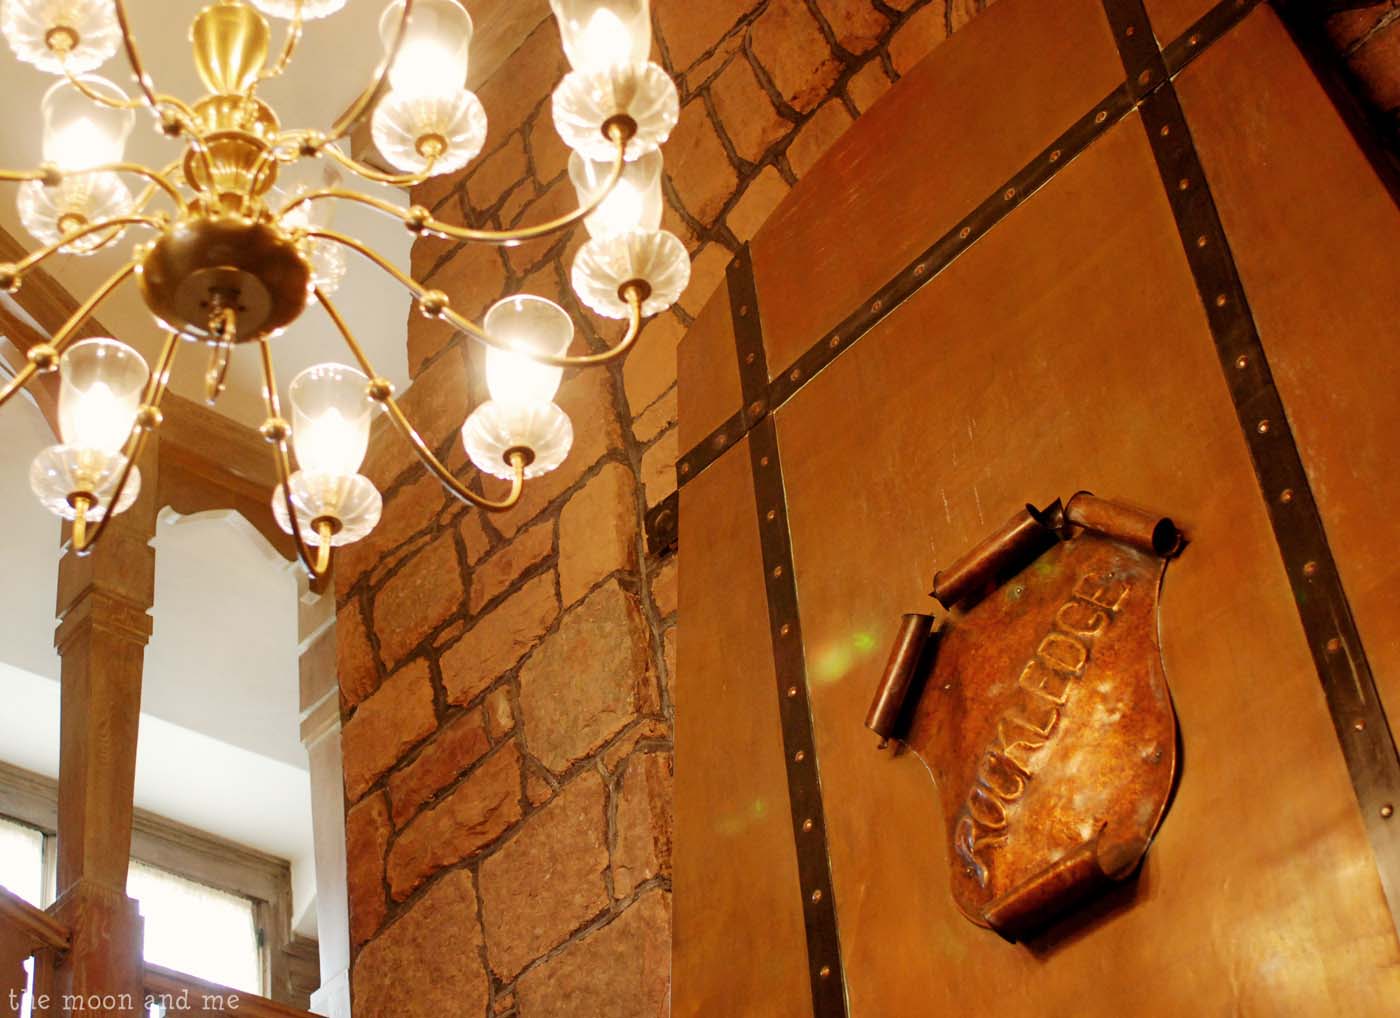
Rockledge Country Inn ~ Our 20th Anniversary

Twenty years ago, I married my best friend.
Boy do I feel old.

One of our groomsmen is missing from this photo...
he was kinda the odd one.
We were just a bunch of punk kids.
And look at all that hair!


We celebrated by spending a long weekend here:
The Rockledge Country Inn bed and breakfast in Manitou Springs, Colorado


See how it backs up against Pike's Peak?
The old track for the Manitou Incline is visible on the right,
nowadays it full of hikers instead of trains.
  

It is a craftsman style house and such a gorgeous
place I wanted to share it with all of you!
I think I took too many pictures!


The house was built in 1912 and this 2-story copper
fireplace was the only source of heat then.


I was told they would draw the heavy velvet drapes on the doors
in this room so all the heat would go to the upstairs where all the bedrooms are.
  

Thankfully that's not needed anymore...especially in May.


I loved these arched windows in the French
doors leading out to the patio in the back.
 

This is in the solarium...it's used as an office now and
I didn't want to get shots of their desk space.

The house was originally built by a millionaire from Kansas who came
to Manitou for the healing powers of the sun for a child who had tuberculosis...
hence the need for the solarium.


Moving up to our room...the Spindletop.


A beautiful English Country room named for a Texas oil
gusher that started the oil industry in the U.S.
 

It took up one wing...so we had windows on 3 sides.
Awesome windows.
 

And look at the door casings and moulding!
*eek!*


There was even a jacuzzi for 2!
These are the windows in the jacuzzi room.


There are 8 suites, but the only other one I'm sharing is El Ocaso...The Sunset.
This room is French Country.
 

But what I really loved...was the bathroom in this room:
 

Doesn't it make you drool?
 

Okay, enough of that,
let's go outside...
 

There's an outdoor hot tub which we spent some time in.
Some very nice walking trails that were originally created in 1939.


The windows on the right are part of the solarium.
Top middle, is the massive chimney from that fabulous fireplace.


Ugh...just look at these carriage house doors...


We had such a wonderful weekend here.  It was very restful and fun.
Breakfast was served every morning and it was delicious.
One morning we ate in the keeping room off the kitchen...loved it.
 

We took a stroll up on the walking trails to see this gorgeous view.
  

This is NOT a sponsored post in any way.
We thoroughly enjoyed our visit and wanted to share it.
I firmly believe in promoting great local businesses and attractions.
 
This particular location is adults only.
There are two other manor houses under the same ownership,
they welcome kids and are within walking distance.
Everyone comes to this house for breakfast.
   

If you are ever in the Colorado Springs/Manitou Springs area...
you should check them out.
Absolutely wonderful staff, very friendly.
You will love it.
 

And don't forget to visit Garden of the Gods!

I hope you enjoyed your virtual stay as much as we enjoyed our real one!
Here's to many more years with my hubby. :)

What's been your favorite place to celebrate?

 
Sharing Here: